
So, you're looking at your beautiful Oriental rug and wondering, "Can I actually clean this myself?" It’s a question every rug owner asks. The short answer is yes, with some very important caveats.
Cleaning an Oriental rug at home isn't about brute force; it's about finesse. It is a careful, step-by-step process that you cannot rush. This guide walks you through that exact process, giving you the confidence to handle routine upkeep and light soiling on your own.
But let's be crystal clear: knowing when not to do it yourself is just as important. DIY cleaning is perfect for tackling surface dust and general maintenance. It is not a replacement for a professional rug cleaning, especially if you're dealing with heavy soiling, stubborn stains, or pet urine. Trying to fix a major problem without the right tools and expertise can lead to damage that is expensive or impossible to fix.
Weighing the Pros and Cons
Before a single drop of water touches your rug, you need to understand what is at stake. Get it right, and your rug will look brighter and fresher. Get it wrong, and you could be facing serious problems.
- Dye Bleeding: This is a classic DIY mistake. The wrong cleaning solution or hot water can make those rich, beautiful colors run into each other, ruining the pattern forever.
- Fiber Damage: Wool and silk fibers are delicate. Scrubbing too hard or using a vacuum with an aggressive beater bar can snap them, leading to fuzzing and permanent wear.
- Foundation Rot: This is the most common and dangerous pitfall. If a rug is not dried quickly and completely, mold and mildew can set in, rotting the cotton foundation from the inside out.
These are the exact kinds of issues that keep professional rug cleaners in business. At Rubber Ducky Rugs, our local specialists see the aftermath of well-intentioned DIY cleanings all the time. Our technicians understand the hidden life inside your rug—the sharp, gritty soil that slowly grinds away at the fibers and the allergens that get trapped deep within the pile.
The most critical first step is an honest assessment. If your rug is a valuable antique, a fragile silk piece, or a cherished family heirloom, do not take the risk. The smartest, safest choice is always to call a professional.
This guide will give you the knowledge to make that call. I'll show you how to perform a safe, light rug cleaning and, just as importantly, how to spot the warning signs that mean it's time to bring in an expert. Rubber Ducky Rugs offers coast to coast rug cleaning solutions for homeowners, preserving the beauty of these incredible works of art.
Getting Your Rug Ready for a Safe Cleaning
Before you even think about mixing a cleaning solution, you must do some prep work. This is not just a preliminary step; it is a crucial part of preserving your rug. Rushing this part is the single biggest mistake people make when cleaning an Oriental rug at home, and it often leads to damage that is hard or impossible to fix.
Taking the time to prepare properly means you're protecting the delicate fibers and intricate dyes that make your rug a piece of art. It is the exact same foundational process our trained rug specialists follow in places like New York, Los Angeles, and Chicago before they even begin a professional rug washing. It sets the stage for a great result.
A Thorough Visual Inspection
First things first, you need to play detective. Find a clean, flat spot with plenty of bright, natural light and lay your rug out. Get down on your hands and knees to examine the entire thing, front and back.
You're looking for specific red flags:
- Moth Damage: Keep an eye out for tiny, web-like casings or bald spots where the pile looks like it's been eaten away. Trying to clean a rug with an active moth problem will only spread the infestation.
- Frayed Edges or Holes: Make a mental note of any weak spots, fringe that's coming unraveled, or small holes. An aggressive cleaning can turn these minor issues into major ones.
- Color Bleeding: Look for fuzzy or blurred lines in the pattern. This is often a sign that the colors have run in the past and are a dead giveaway that the dyes are unstable.
This inspection gives you a clear picture of your rug's condition. It will help you spot areas that need a gentle touch or are a sign that it is time to call in a pro.
The All-Important Colorfastness Test
If you do only one thing from this guide, make it this. Skipping this test is a gamble you do not want to take, especially with an older, hand-knotted rug that might have been made with less stable vegetable dyes. This simple test tells you if your rug's dyes will bleed when you add your cleaning solution.
Here is how to do it right:
- Pick a hidden spot on the rug, like a corner on the back or a tiny patch of each main color.
- Get a clean, white cotton cloth and dampen it with cool water and a little bit of the cleaning solution you plan to use.
- Gently blot the test area. Do not scrub it. Just press down firmly for a few seconds.
- Lift the cloth. Do you see any color transfer? Even a faint smudge of dye means the rug is not colorfast.
Key Takeaway: If any color comes off on that cloth, stop right there. Moving forward with a wet cleaning will almost certainly cause the dyes to run and permanently ruin your rug. This is your cue to contact a professional rug cleaning service.
Getting Rid of Dry Soil the Right Way
Before any moisture touches those fibers, you have to get as much dry dirt out as possible. All that embedded grit acts like sandpaper, grinding away at the wool or silk fibers once you start washing.
But be careful—the wrong vacuum can do more harm than good. Never use a standard upright vacuum with a spinning beater bar. Those aggressive bristles will snag the rug's knots, tearing fibers and destroying the pile over time.
Instead, stick to these safer methods:
- Canister Vacuum: Your best bet is a canister vacuum with a suction-only floor or upholstery attachment. Gently move the tool across the surface, always following the direction of the pile's nap.
- Gentle Sweeping: You can also use a soft-bristled brush to sweep dust and debris from the surface. Again, the key is to always work with the grain of the fibers, not against it.
The goal here is to lift the dirt, not attack it. In fact, research shows that 19% of Oriental rugs cleaned at home suffer from color fading or fiber damage from bad techniques or too much water. This is a big reason why pH-neutral, rug-safe cleaning products have become so much more popular. You can find more great insights on safe rug care practices at the Rug Institute.
Mixing Up the Right Cleaning Solution
What you use to clean your rug is the most critical decision you'll make in this whole process. The wrong solution can ruin a rug permanently in minutes.
First, forget about most commercial cleaners. Many are far too alkaline for natural fibers like wool and silk. These harsh solutions can strip the natural lanolin (the wool's protective oil), leaving the fibers brittle, dull, and prone to damage.
Instead, we're going to mix a simple, gentle, and surprisingly effective solution. This is the same basic principle we professionals follow: safety and preservation come first. It is this focus on the science of the fibers that ensures the rugs we clean, whether in Phoenix, Houston, or Philadelphia, keep their integrity and beauty for years.
The Best (and Safest) DIY Rug Cleaner Recipe
The formula for a safe rug cleaner is beautifully simple. It's designed to lift dirt without disrupting the rug’s delicate fibers or causing the dyes to run.
You only need two things:
- Cool Water: Never use warm or hot water. Heat is the enemy. It can shrink wool fibers and make unstable dyes bleed. Cool water is your safest bet, always.
- A Clear, pH-Neutral Soap: You are looking for a simple, clear liquid soap without any fragrances, dyes, or additives. A basic, clear dish soap often works. Just make sure it does not have any extra moisturizers, heavy degreasers, or bleach.
Now for the ratio, and it is important to be precise. For every one gallon of cool water, you'll add just one teaspoon of your pH-neutral soap. That is it. It is tempting to add more, thinking it will clean better, but less is more. Too much soap leaves a sticky residue that is difficult to rinse out and will attract more dirt.
You are not looking for a bucket of suds. A common mistake is to make a foamy, bubbly mixture. The right solution should just feel slightly slippery between your fingers, not soapy. If you have a lot of foam, you have used too much soap.
Why "pH-Neutral" is the Golden Rule
Let's talk a little science. The pH scale tells you how acidic or alkaline something is, from 0 (very acidic) to 14 (very alkaline). Pure water is a neutral 7. Wool and silk fibers are naturally a bit on the acidic side, so they are happiest and healthiest when cleaned with a solution that's right around that neutral 7 mark.
- Alkaline Cleaners (pH above 7): This is where most household cleaners live. They're great for a countertop but a disaster for a natural rug. The alkalinity attacks the protective outer layer of the wool fiber, making it feel harsh and look faded.
- Acidic Cleaners (pH below 7): Things like straight vinegar can also cause problems. While professionals sometimes use acids in controlled settings to help set dyes, trying it at home without the right knowledge can easily make colors bleed or look splotchy.
By sticking to a pH-neutral cleaner, you're working with the rug's natural defenses, not against them. That lanolin in the wool gives it its softness, its ability to spring back, and its natural resistance to stains. A gentle, neutral solution gets the dirt out without stripping away that essential protection. This is a fundamental practice our growing national network relies on every day as we expand and serve more customers from coast to coast.
Time to Wash: A Gentle Approach to a Deep Clean
You have prepped your rug and mixed your cleaning solution. Now comes the most hands-on part. The key here is patience and a soft touch. We are not trying to scrub the rug; we're gently lifting out the embedded soil that a vacuum cannot reach.
Grab a soft sponge or a brush with very soft bristles. Dip it into your pH-neutral solution, wring out most of the liquid, and start working it into the rug. Here's a critical tip: always move in the direction of the pile. You can find this direction by running your hand over the surface. One way will feel smooth, and the other will feel rough against your hand. Always work with the smooth direction, as if you're petting your rug.
The Right Way to Apply Your Solution
Do not scrub back and forth or in circles. That aggressive motion can untwist the delicate knots, fray the wool or silk, and cause permanent texture damage. Work in small, manageable sections, applying just enough solution to dampen the fibers. You absolutely want to avoid soaking the rug's foundation.
This careful, deliberate technique is a simplified version of what our pros do every day. Whether they're restoring a treasured family heirloom in Austin or cleaning a modern wool rug in a San Diego high-rise, the principle is the same: always respect the rug's construction.
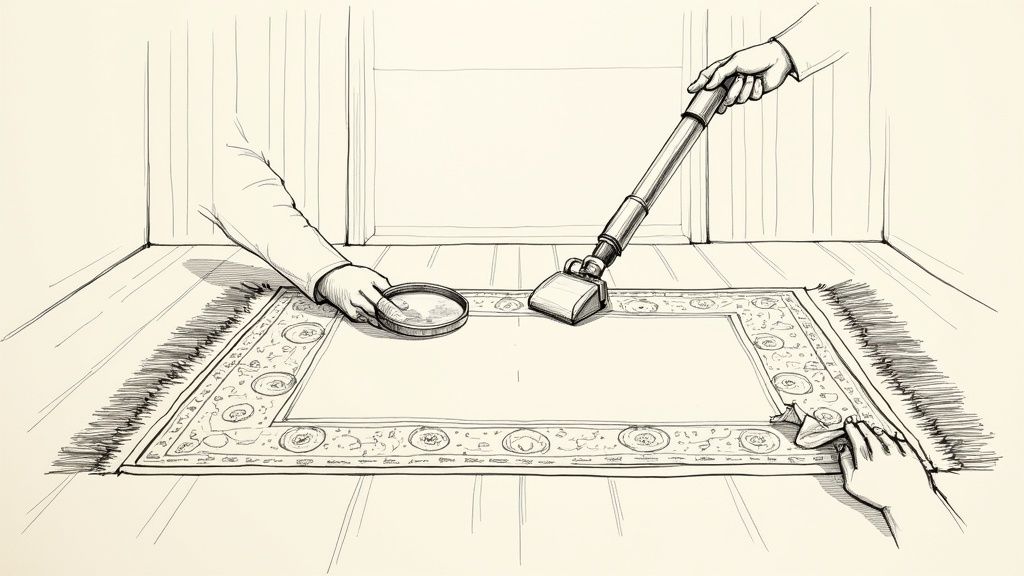
Creating your cleaning solution is simple: just combine a pH-neutral soap with cool water. This ensures you have a gentle but effective mixture ready for your rug.
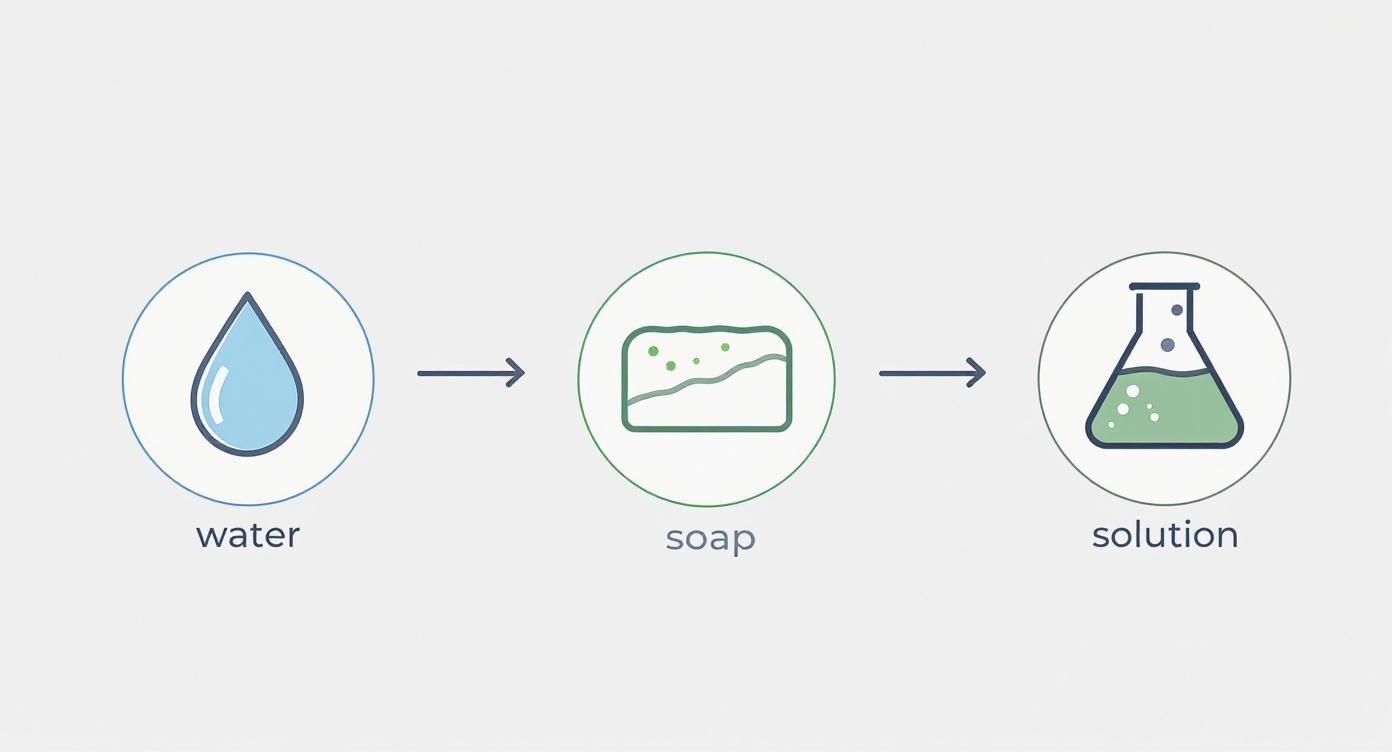
As this image shows, you do not need harsh or complicated chemicals to get a safe, effective clean.
Many people take on this DIY task. A recent survey from the American Cleaning Institute found that 58% of Oriental rug owners clean their rugs at home at least twice a year. And, it turns out, 45% of them use mild detergents, which is exactly what we recommend. However, the study also pointed out that 32% use steam cleaners—a method we strongly advise against for natural fibers because of the high risk of shrinkage and dye bleed.
Why Rinsing Is the Most Critical Step
Once you have gently washed the entire surface, it's time to rinse. This step is probably more important than the washing itself. Leaving any soap residue behind is a huge mistake. It will dry stiff, attract new dirt like a magnet, and can make your rug's vibrant colors look dull and faded.
You have to get all of that solution out. Start by filling a bucket with fresh, cool water. Using a clean sponge, lightly dampen the rug's surface, again working in small sections and following the direction of the pile.
Now, to get the excess water and loosened grime out, a flexible, rubber-edged squeegee is your best friend. Place the edge of the squeegee at the top of a section and pull it smoothly and firmly down the length of the rug, always following the pile. You will be surprised at the dirty, soapy water that gets pushed out. Wipe the squeegee clean after each pass, and keep going until the water coming from the rug runs clear.
Pro Tip: Do not have a squeegee? The straight edge of a plastic dustpan can work. The goal is to use a tool that provides even pressure without being sharp enough to snag or tear the fibers.
Continue this rinse-and-squeegee process section by section until you have covered the entire rug. It is a slow and methodical process, but rushing here will lead to a disappointing result. For a deeper dive into this part of the process, you might find our guide on how to deep clean area rugs at home really helpful.
DIY vs Professional Oriental Rug Cleaning Methods
The meticulous rinsing and water extraction phase is what separates a home cleaning from a professional one. It is often the point where homeowners realize the value of calling in experts. To give you a clearer picture, here is how the at-home method stacks up against our professional service.
| Cleaning Stage | DIY At-Home Method | Rubber Ducky Rugs Professional Method |
|---|---|---|
| Dusting | Beating the rug or using a home vacuum. | Using a specialized rug badger to safely vibrate out pounds of deep-set soil. |
| Washing | Manual application with a sponge and pH-neutral soap. | Full immersion in a wash pit with specialized, fiber-specific cleaning agents. |
| Rinsing | Manually applying water and using a squeegee to remove it. | Using a high-volume, low-pressure fresh water rinse to thoroughly flush all residue. |
| Water Extraction | Squeegeeing and pressing with towels. | Using a centrifuge that spins the rug to remove 95% of the water in minutes. |
| Drying | Air drying on a flat, elevated surface, which can take days. | Hanging in a climate-controlled drying room for rapid, even, and safe drying. |
This table highlights the significant difference in equipment and technique. While a DIY clean is great for maintenance, the specialized tools we use at Rubber Ducky Rugs ensure a deeper, safer, and more thorough result, which is why our expanding national network is trusted by customers nationwide.
The Critical Final Step: Getting the Drying Just Right
How you dry your rug is every bit as important as how you wash it. This final stage is where many good intentions fall apart, often leading to damage that no amount of cleaning can fix. Improper drying is the number one cause of mold, mildew, and foundation rot, which destroys a beautiful rug from the inside out.
The biggest mistake people make is hanging a wet wool rug. When it's saturated with water, that rug is incredibly heavy. Hanging it will stretch the foundation fibers, completely distorting the shape and ruining the intricate weave. Whatever you do, never hang a wet rug.
Setting Up a Proper Drying Environment
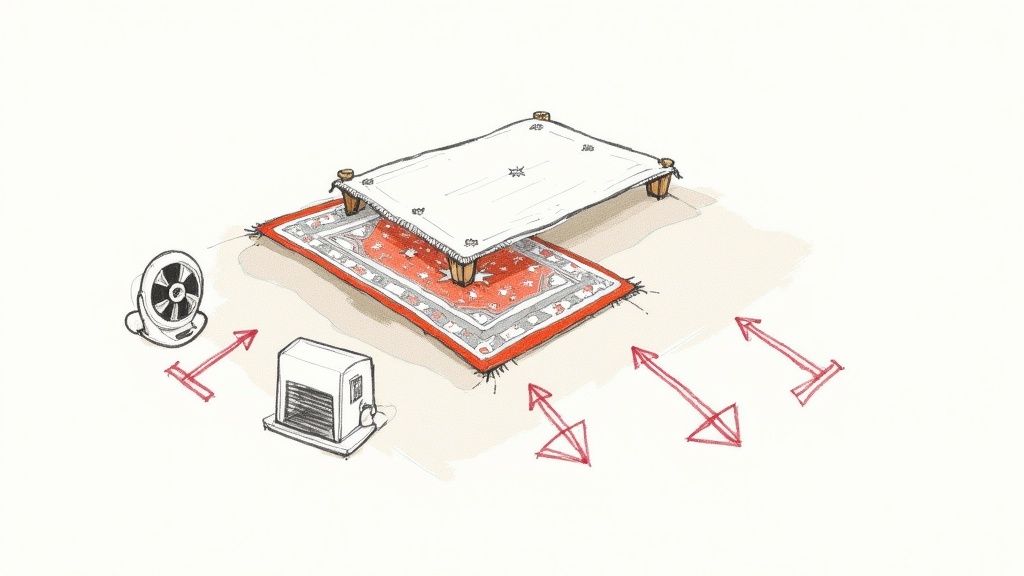
The only safe way to dry your rug is to lay it completely flat. But just placing it on the floor is a recipe for disaster; you'll trap moisture underneath, which quickly leads to musty smells and mildew. The key is to elevate the rug so air can circulate all around it—top, bottom, and all sides.
You can get creative here. Use sturdy, waterproof items like cinder blocks or plastic milk crates to build a raised platform. Place them every few feet to make sure the rug is fully supported and does not sag. Clean screens or mesh panels laid across your supports work even better, creating an ideal surface for airflow.
With the rug elevated, your mission is to create a dry, breezy room.
- Get the Air Moving: Set up several fans around the rug. You want them blowing air not just over the top, but also underneath the platform you have built. Constant air movement is what pulls the moisture out.
- Pull Out the Humidity: A dehumidifier is your best friend here. Put one in the room and let it run constantly. It will pull water out of the air, dramatically speeding up the drying time and stopping mold in its tracks.
The faster and more evenly your rug dries, the better. A wool rug can easily take a few days to dry completely. You must keep the air moving and the humidity low that entire time. No shortcuts.
The Final Touch: Grooming the Pile
Your rug is not done until it is bone dry. And I mean all the way through. Test it by pressing your hand down hard into the pile and feeling the underside of the foundation. If you feel even the slightest hint of coolness or dampness, it needs more time. Rushing this step is a gamble you cannot afford to take.
Once you are positive it's dry, it is time for the final touch: grooming the pile. After a wash, the fibers can look a little flat or matted. Grab a soft-bristled brush—never use anything stiff—and gently brush the pile in the direction it naturally lays. This simple step lifts the fibers right back up, restoring that beautiful sheen and soft texture.
This kind of careful, detailed process is exactly why homeowners from Miami to Seattle trust us with their rugs. At Rubber Ducky Rugs, our climate-controlled drying rooms are designed to get these results safely and efficiently every single time. While this guide for how to clean oriental rugs at home is great for a light refresh, our nationwide network is always here when your rug needs a deeper, professional-grade clean. We are always expanding our local services, bringing true rug washing expertise to more cities every month.
Knowing When to Call a Professional Rug Cleaner
While this guide gives you the tools to handle routine care, one of the most important skills is knowing when to step back and call in an expert. Some situations demand the specialized equipment and deep knowledge only a professional rug cleaner has. Trying to tackle a complex cleaning job yourself is not just a risk—it is a gamble with a valuable, often irreplaceable, piece of art.
Learning to spot the red flags will help you make the right call, protecting your investment for years to come.
When DIY Is Not an Option
Let's be clear: some rugs and certain types of damage are completely off-limits for at-home cleaning. If your rug fits any of the descriptions below, your next step should be finding a specialist.
-
Silk or Antique Rugs: These pieces are incredibly delicate. Silk fibers can be permanently damaged by the wrong cleaning solution or even gentle friction. Likewise, antique rugs often have fragile foundations that cannot handle a DIY wash.
-
Visible Dye Bleed: Did your colorfastness test show colors running? Or have you noticed areas where the dyes have already bled? Stop right there. Professionals have specific methods to set and stabilize dyes before a wash, preventing a beautiful pattern from turning into a blurry mess.
-
Deep Pet Urine Contamination: A surface-level cleaning will not touch the crystallized urine salts that have soaked deep into the rug's foundation. Those crystals are the source of that lingering odor and will slowly corrode and rot the rug fibers from the inside out. This requires professional pet stain and odor removal for rugs.
-
Heavy Soiling or Odors: If a rug is saturated with years of dirt or has a powerful, musty smell, it needs a full immersion wash. This is the only way to truly flush all the contaminants out from between the fibers.
In these cases, calling a professional is not an expense; it is an essential act of preservation. The trained rug specialists at Rubber Ducky Rugs, serving customers throughout the United States, are equipped to handle these exact challenges safely.
The hard truth is that improper home cleaning can do more harm than good. For rugs valued over $500, a staggering 85% of rug experts agree that the wrong DIY methods can shorten their lifespan by up to 30%. You can learn more about preserving your rug's value from the experts at the Rug Institute.
Bringing in a professional ensures your rug gets the precise treatment it needs. You can learn more about their methods and why they're so critical by reading our guide on the truth about rug cleaning. For a professional assessment in your city, you can call, text, or book online with us today.
Your Top Rug Cleaning Questions Answered
We have heard just about every question you can imagine when it comes to caring for Oriental rugs. Let's tackle a few of the most common ones that come up, so you can avoid some frequent pitfalls and keep your rug looking its best.
"Is it okay to use my steam cleaner on my wool Oriental rug?"
Absolutely not. Please, put the steam cleaner away. It might seem like a great idea for a deep clean, but the intense heat and high-pressure moisture are a recipe for disaster on natural fibers like wool and silk.
This combination can cause the dyes to bleed into a muddled mess, shrink the delicate wool fibers, and even weaken the rug's foundational structure. It is a risk that's just not worth taking. Professional rug washing is completely different; we use carefully temperature-controlled water and proven techniques that clean deeply without causing irreversible damage.
"Help! My pet had an accident on the rug. How do I get the smell out?"
This is a tough one for a DIY approach. While you can certainly blot up a fresh, minor spot, a deep-set pet urine odor is something that surface cleaning cannot fix.
The real problem lies with the urine salts that crystallize deep down in the rug's fibers and foundation. When you try to wash it at home, you often just spread the contamination around and can actually lock in the odor permanently.
A Note From The Pros: The only truly effective way to eliminate pet urine is through a full immersion washing process. Our trained rug specialists perform this in our facilities. It allows us to completely flush those stubborn urine salts from the very core of the rug, leaving it genuinely clean and odor-free.
"How often should I be deep cleaning my Oriental rug?"
Great question. The single most important thing you can do is regular vacuuming—just remember to do it without the beater bar engaged!
As for a full, deep rug cleaning, we generally recommend it every 1 to 3 years. The exact timing really depends on how much foot traffic the rug sees. A rug in a busy hallway will need attention more often than one in a quiet guest room.
But if you have a rug that's particularly valuable, an antique, or heavily soiled, our advice is always the same: talk to a professional first. A quick expert assessment can make all the difference in preserving your rug for years to come.
When your DIY efforts are not enough, it's time to call in the experts. Rubber Ducky Rugs offers professional, fiber-safe rug cleaning for all types of rugs, with local service in cities large and small across the country. We offer fast scheduling through our easy call, text, and online booking options. Get a quote today at https://rubberduckyrugs.com.