
If you want to deep clean carpet properly, you need a game plan. It’s about more than just a quick pass with a vacuum. We’re talking about choosing the right method—like hot water extraction or steam cleaning—to genuinely revitalize your carpet, clear the air in your home, and actually extend its life.
Your Deep Carpet Cleaning Game Plan
Looking down at a dull, tired carpet can feel pretty daunting. But trust me, a really deep clean is more straightforward than it seems. This guide is your complete roadmap, built to give you a clear, step-by-step plan that works. Let's skip the guesswork and get strategic.
A great deep clean starts with understanding the "why" before you even think about the "how." This isn't just about lifting surface stains. It's about pulling out the deeply embedded grit, allergens, and grime that your everyday vacuum simply can't touch. This process is crucial for protecting your investment, because those tiny abrasive particles literally grind down carpet fibers over time, causing them to thin out and look old before their time, especially in high-traffic spots.
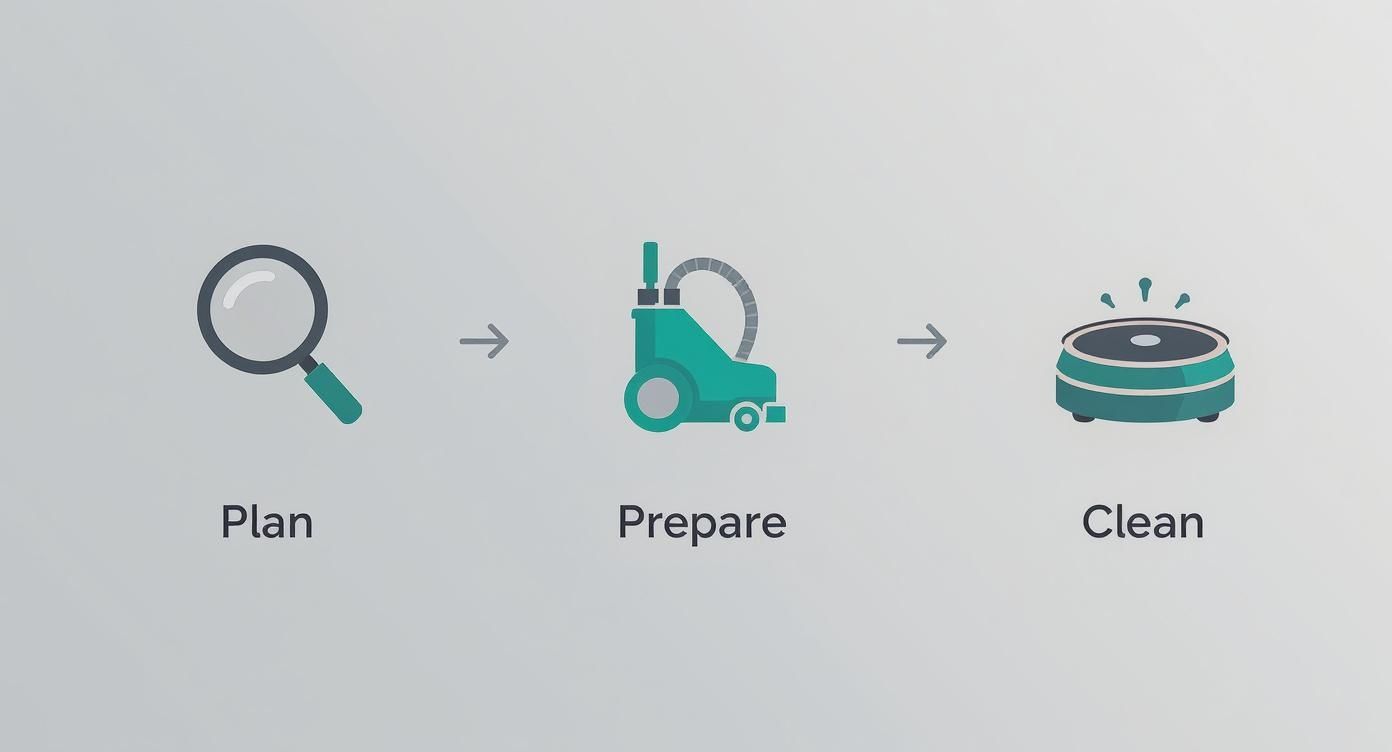
This simple flow chart really nails it—success isn't just in the cleaning phase. It’s all about the planning and prep work you do beforehand.
The Real Impact of a Deep Clean
The payoff here is huge and goes way beyond just looking good. A professionally cleaned carpet makes for a healthier home.
Here’s what you're really accomplishing:
- Better Air Quality: Your carpet is basically a giant air filter, trapping dust, pet dander, pollen, and other pollutants. A deep clean empties that filter, helping everyone breathe a little easier.
- Allergen Annihilation: Dust mites and other microscopic pests love to call carpet fibers home. The high heat and powerful suction from a deep clean evict them for good.
- Longer-Lasting Carpet: By getting rid of that deep-down grit, you stop the constant wear and tear on the fibers. This keeps the texture and structure intact, adding years to its life.
This focus on health is a big deal. It’s why the global carpet and upholstery cleaning market, valued at USD 55.16 billion in 2022, is expected to hit USD 83.5 billion by 2030. People are more aware than ever of indoor air quality. You can read the full research about carpet cleaning market trends to see just how much health concerns are driving the industry.
Choosing Your Deep Cleaning Method
When it comes to DIY, there are two main methods you'll encounter: hot water extraction and true steam cleaning. People often use these terms interchangeably, but they work quite differently.
Deciding between the two main DIY methods can be tricky. Here’s a quick breakdown to help you figure out what’s best for your situation.
| Choosing Your Deep Cleaning Method | |||
|---|---|---|---|
| Method | Best For | Key Benefit | Consideration |
| Hot Water Extraction | All-purpose cleaning for most synthetic carpet types (nylon, polyester). Great for heavily soiled areas. | Deeply flushes out embedded dirt and grime using a cleaning solution and powerful suction. | Longer drying times (can be 8-24 hours). Risk of over-wetting if not done carefully. |
| True Steam Cleaning | Sanitizing and refreshing carpets, especially for homes with pets or allergy sufferers. Good for delicate fibers. | Uses high-temperature vapor (over 212°F) to kill bacteria, dust mites, and mold without harsh chemicals. | Less effective at removing heavy, caked-on soil. The machine must be a "true steam" cleaner, not just a hot water extractor. |
Ultimately, picking the right tool for the job makes all the difference. Hot water extraction is your workhorse for deep-down dirt, while steam is fantastic for sanitizing and refreshing.
Expert Tip: In my experience, the biggest mistake homeowners make is rushing the prep work. Taking an extra 30 minutes to really vacuum thoroughly and pretreat stains will easily double the effectiveness of your deep cleaning machine.
The goal is to restore your carpet's health, not just its appearance. A smart, methodical approach ensures you pull out the maximum amount of soil and moisture, leaving you with a floor that's fresh, vibrant, and genuinely clean.
Setting the Stage for a Perfect Deep Clean
The real secret to getting that professionally-cleaned look doesn't actually start with turning on the machine. It’s all in the prep work. Honestly, skipping these initial steps is like trying to paint a wall without sanding it first—you're just not going to get that smooth, flawless finish you’re after.
Think about it this way: your carpet cleaner is designed to pull up liquid and grime that's been dissolved. It’s not a vacuum. When you blast a carpet full of dry dust, pet dander, and tiny bits of grit with hot water and soap, you’re basically just making mud. That muddy mess is way harder for the machine to suck back out and often just gets shoved deeper into the carpet fibers.
First Things First: A Seriously Thorough Vacuum
This is, without a doubt, the most critical step. I don't mean a quick once-over. You need to be methodical. Go slowly, letting the vacuum’s beater bar really work its magic. I always tell people to vacuum the entire room in overlapping north-to-south rows, and then do it all over again going east-to-west. This technique hits the carpet fibers from every angle, coaxing out the maximum amount of loose soil.
If you have a good vacuum with a HEPA filter, even better. It’ll trap all those fine dust particles instead of just spitting them back into the air you breathe. Make sure to give extra love to the high-traffic areas, like the path from the couch to the kitchen or right inside the front door. That's where the most grit gets ground in.
Play Detective: Spot and Pre-Treat Stains
With all the loose dirt gone, it’s time to put on your detective hat. Take a walk around the room and get a good look at any specific spots or stains. You can't treat a red wine spill the same way you'd treat a greasy food stain, and hitting them with the right solution beforehand gives your main cleaning a massive head start.
Most stains you'll find around the house fall into a few buckets:
- Tannin Stains: This is your coffee, tea, juice, and red wine. They're plant-based and usually respond well to something slightly acidic.
- Protein Stains: Think organic stuff like mud, blood, or grass. These need special enzymatic cleaners that literally eat away at the stain.
- Grease and Oil Stains: This group includes culprits like salad dressing, makeup, or ink. You’ll need something solvent-based to break down and dissolve the oil.
For a lot of common spills, a simple homemade solution does the trick. I keep a spray bottle with a 50/50 mix of white vinegar and water handy for those tannin-based stains. Just give the spot a light mist—don't soak it—and let it dwell for 5-10 minutes before you start the main event.
This kind of targeted, thoughtful cleaning is becoming the new standard. It's no surprise that the global carpet cleaner market, valued at USD 776.62 million in 2024, is expected to jump to USD 1.32 billion by 2033. People want better, healthier results at home, and that starts with doing it right. You can discover more insights about the carpet cleaner market trends and its projected growth.
The Golden Rule: Always Spot Test
Before you go spraying any pre-treater or cleaning solution on your carpet, you absolutely must do a spot test. This takes maybe ten minutes, but it can save you from a complete disaster, like bleaching a patch of your carpet or damaging the fibers.
Find a hidden spot—inside a closet, under the sofa, or on a leftover carpet scrap from the installation. Put a little bit of your cleaning solution on a clean white cloth and gently dab it on the test area. Wait about 10 minutes, then blot it with a fresh, damp cloth. Look closely: Did any color come off onto your cloth? Has the carpet’s color or texture changed at all?
If everything looks good, you're clear for takeoff. This one simple check gives you the confidence that you're about to improve your carpet, not ruin it. Taking the time to prep properly ensures your machine can do what it does best, leaving you with a floor that looks and feels incredible.
Mastering the Deep Cleaning Machine
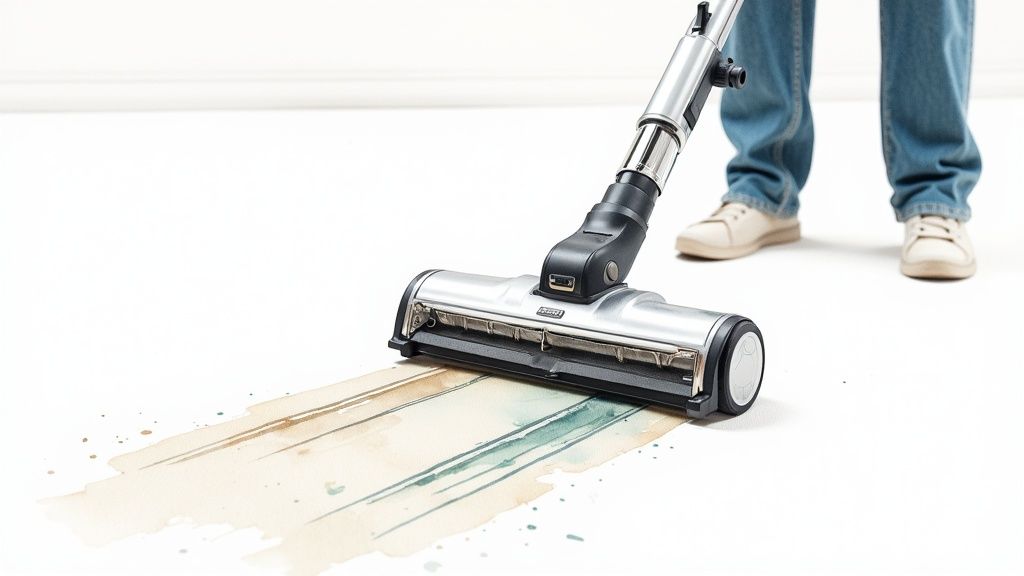
Alright, your carpet is vacuumed, and those pesky spots have been pre-treated. Now comes the satisfying part: the hot water extraction. This is what most people mean when they say "steam cleaning," and it's where you'll see a truly dramatic change. We're not just soaking the floor; we're using hot water to flush out deep-seated grime and then pulling all that gunk right back out.
This is the step that brings your carpet's colors back to life and gets rid of lingering odors. The secret to getting a result that looks like a pro did it isn't about muscle or speed. It’s all about technique. A slow, methodical approach will always beat aggressive scrubbing.
Getting the Solution Right
First things first, let's mix the cleaning solution. This is one area where more is absolutely not better. Rental machines typically have two tanks—one for your clean, hot water and solution, and a second to collect the dirty water. Stick to the directions on the cleaning solution bottle like glue.
Using too much soap is hands-down one of the most common mistakes I see when people deep clean carpet. It creates a mountain of suds that the machine simply can't pull out. What you’re left with is a sticky residue that acts like a dirt magnet, making your carpet look grimy again in record time.
Pro Tip: For a standard cleaning job, I often tell people to try using half the recommended amount of solution. You’ll likely get the same great results, save a little money, and drastically cut the risk of that sticky, soapy residue.
Always fill the clean water tank with hot water straight from the tap—hot, but not boiling. The heat is a game-changer for breaking down oily soils and grime.
Executing the Perfect Cleaning Pass
With the machine prepped and ready, it's time to get to work. The key is to have an exit strategy. You want to clean your way out of the room so you're not walking all over your damp, freshly cleaned carpet. Always start in the corner farthest from the door.
Imagine you're tackling a high-traffic living room. You’d begin in the far corner behind the couch and work your way backward toward the doorway.
For every section you clean, follow this rhythm:
- The Wet Pass: Squeeze the trigger to release the hot water and solution. Now, pull the machine backward toward you—nice and slow. I’m talking about a pace of one foot every two seconds. Moving slowly is crucial; it gives the hot water a chance to work its way into the fibers and allows the brushes to agitate everything loose.
- The Dry Pass: Let go of the trigger. Go back over the exact same stripe you just cleaned, maintaining that same slow pace. This pass is all about suction. It has one job: to pull as much of that dirty water out as possible. For a truly professional result, do two dry passes for every single wet pass.
Make sure you overlap your strokes by about 30%. Think of it like mowing the lawn; you want each new pass to slightly cover the edge of the last one. This prevents streaking and ensures you get a beautiful, uniform finish.
The Importance of Not Over-Wetting
One of the biggest DIY carpet cleaning blunders is over-wetting. When you soak the carpet, you risk damaging the backing, creating the perfect environment for mildew, and turning a few hours of drying time into a few days. It's a surprisingly easy trap to fall into, which is why it's so important to understand the rug cleaning mistake most homeowners make.
To sidestep this problem, just stick to that "one wet pass, two dry passes" rule. You will be shocked by how much dirty water comes up on that second dry pass.
Also, keep a close eye on your dirty water tank. Most machines will start to lose suction or spit water when it gets full. Dump it out right away and refill your clean tank to keep the momentum going. When you're finished, your carpets should feel slightly damp, not soggy.
Winning the Battle Against Pet Stains and Odors
If you share your home with furry family members, you know that deep cleaning your carpets is a whole different ballgame. A pet accident isn't just another spill. It’s a complex, multi-layered problem that demands a specific strategy to solve for good. A simple surface scrub just won’t cut it.
The real trouble with pet urine lies in its chemical makeup, specifically the uric acid crystals. These crystals don't dissolve in water, which is why standard carpet shampoos often fail. The stain might disappear, but the pungent odor mysteriously returns on the first humid day. That moisture reactivates the crystals, and the smell comes roaring back.
This is where you have to get smart about the science of cleaning. You need something that doesn't just mask the smell but completely dismantles the source.
The Power of Enzymatic Cleaners
When it comes to pet messes, enzymatic cleaners are the undisputed champions. Think of them as microscopic cleaning crews. Instead of harsh chemicals, these products use beneficial bacteria that produce enzymes specifically designed to break down and literally "eat" organic matter like urine, feces, and vomit.
These powerful enzymes digest the uric acid crystals and other proteins, completely eliminating the source of both the stain and the odor. It's a biological process, not a chemical cover-up. This is absolutely critical because if your pet can still smell even a faint trace of a previous accident, they are 80% more likely to soil that same spot again.
When you're ready to deep clean carpet plagued by pet issues, an enzymatic cleaner is your non-negotiable first line of defense.
Treating Fresh Pet Accidents
The second you spot a fresh accident, the clock starts ticking. The faster you act, the less chance the urine has to soak deep into the carpet padding and subfloor—that’s where odors become a permanent problem.
Here’s what to do immediately:
- Blot, Don't Rub: Grab a thick stack of paper towels or a clean white cloth. Press down firmly on the spot to absorb as much liquid as you can. Keep swapping out the towels for fresh ones until they come up almost dry. Rubbing will only spread the stain and drive it deeper into the fibers.
- Apply the Cleaner: Be generous here. Spray the enzymatic cleaner over the entire area. You need to use enough of the solution to saturate not just the surface fibers but also to reach as deep as the urine did.
- Let It Dwell: This is the most important step, so don't rush it. The enzymes need time to work their magic. Check the product label, but most require a dwell time of at least 10-15 minutes. For tougher spots, it might be even longer.
- Final Blot: After the dwell time is up, take another clean cloth and blot the area to pull up the excess moisture. Let it air dry the rest of the way.
Tackling Old, Set-In Stains and Odors
What about those mystery stains you found long after the fact? The process is similar, but you’ll need more patience and possibly a few rounds of treatment.
For older stains, you may need to let the enzymatic cleaner sit for several hours. A great trick is to cover the treated area with a damp towel overnight; this keeps the enzymes active and working for much longer.
It’s also crucial to understand what’s happening beneath the surface. Pet accidents can create a whole ecosystem in your carpet fibers. You can learn more about the hidden life inside your rug to see why a professional-level cleaning is sometimes the only real solution.
The key is saturation. If an old pet stain has penetrated the carpet padding, your cleaning solution must do the same to effectively neutralize the uric acid crystals that have been left behind.
Once your spot treatments are completely dry, you can proceed with a hot water extraction for the entire room. This final, comprehensive step will lift any remaining residue and restore a uniform, fresh look to your carpet, ensuring your home smells as clean as it looks.
Aftercare for a Longer Lasting Clean
Alright, the heavy lifting is over, but don't put that deep cleaner away just yet. What you do after you clean is what really makes the results stick. This is the phase that separates a decent job from a fantastic one that keeps your carpet looking fresh for months.
The absolute number one priority right now? Getting it dry. Fast. A carpet that sits damp for too long is basically a welcome mat for mold and mildew. That leads to musty smells and can even stir up allergies. The goal here is to get your carpet completely dry, ideally within 6 to 12 hours.
Speeding Up the Drying Process
To hit that 6-to-12-hour window, you need to get the air moving and pull the humidity down. This isn't just a "nice-to-have"; it's essential for protecting your carpet and keeping your home's air healthy.
Here are a few tricks I always use to get a carpet dry in no time:
- Create a Cross-Breeze: Crack open windows on opposite sides of the room. It’s the oldest trick in the book for a reason—it works.
- Bring in the Fans: Grab some box fans or oscillating fans and aim them across the surface of the carpet. You don't want to point them straight down; think low and sweeping. That angle is far more effective at whisking moisture away.
- Use a Dehumidifier: If you live somewhere humid or it’s a rainy day, a dehumidifier is your secret weapon. It will literally pull moisture right out of the air, which in turn helps pull it from your carpet fibers.
These simple moves can easily slice your drying time in half. You’ll sidestep that dreaded damp smell and help the fibers dry properly without getting matted down.
Protecting Your Freshly Cleaned Carpet
Once the carpet feels dry to the touch, you’ll be tempted to slide all the furniture back into place. Hold on. It’s worth waiting until it’s 100% bone-dry. Even a tiny bit of leftover moisture trapped under a heavy sofa leg can spell trouble.
Why the caution? Wood furniture can actually bleed its stain onto damp fibers, leaving a permanent mark. And any metal on furniture—like casters or decorative feet—can leave behind rust spots that are a real nightmare to get out.
Pro Tip: Not sure if it's fully dry? Grab a clean, white paper towel. Press it firmly into the carpet in a few different spots, especially in the corners and along the baseboards. If you see any hint of moisture on the towel, give it a few more hours.
When you are ready to move things back, place small squares of foil or plastic under the furniture legs for the first 24 hours. This little barrier gives you total peace of mind.
Keeping It Clean for the Long Haul
A deep clean carpet session should be the cornerstone of a bigger maintenance plan, not just a last-ditch effort. There's a reason the global market for carpet cleaning is valued at USD 43.23 billion in 2024 and is expected to jump to USD 57.34 billion by 2030. Smart home and business owners know that regular care is an investment. You can discover more insights about carpet cleaning market growth to see just how big the industry is getting.
To make your hard work last, a simple routine is all you need:
- Vacuum Like You Mean It: Hit high-traffic areas at least twice a week and the rest of the room once a week. This gets rid of the sharp, gritty dirt that slowly shreds your carpet fibers.
- Attack Spills Immediately: Time is your enemy here. The longer a spill sits, the better its chances of becoming a permanent stain. Blot it right away with a clean cloth, always working from the outside of the spill toward the center to keep it from spreading.
- Use Doormats: A good mat at every entrance is your first line of defense, trapping dirt before it ever gets a chance to get ground into your carpet.
This proactive approach doesn’t just keep your carpet looking great—it dramatically extends the time between those big deep-cleaning days.
When to Call Rubber Ducky Rug Cleaning
DIY deep cleaning is a great way to keep your carpets fresh, but there are times when even the best rental machine just won't cut it. Knowing when to hand the job over to a pro isn't giving up—it's the smartest way to protect your carpets and get them truly, deeply clean.
Think about it this way: a rental machine is fine for surface-level dirt, but what about bigger issues? Widespread pet accidents, for example, can soak through the carpet, into the padding, and even reach the subfloor. A standard machine just doesn't have the commercial-grade suction needed to pull moisture from that deep, which can lead to permanent damage and odors you can't get rid of.
Situations That Demand a Professional
Some cleaning challenges are simply beyond the scope of a weekend DIY project. If you find yourself dealing with any of these, it’s definitely time to bring in an expert:
- Delicate or Antique Rugs: Natural fibers like wool, silk, or jute are incredibly sensitive. Using the wrong cleaning solution or too much heat can cause irreversible damage like shrinkage or color bleeding. We know exactly how to handle these materials safely.
- Stubborn, Set-In Stains: Have a mystery spot that just won’t budge, no matter what you throw at it? We have access to professional-grade solvents and specialized techniques that can break down tough stains without harming your carpet fibers.
- Water Damage Restoration: After a flood or even a minor leak, getting the water out fast is critical. Professional extraction is the only way to prevent mold and mildew from growing deep within your carpet and padding.
The difference really comes down to the equipment. Our truck-mounted systems heat water to a much higher temperature for superior sanitization and use powerful vacuums that pull out almost all of the moisture. This means a deeper clean, much faster drying times, and a healthier home environment.
Calling a professional isn't just about getting better results; it's also about avoiding costly mistakes. To see a detailed comparison of what a pro can do versus a DIY attempt, you can read about the truth about rug cleaning. The team at Rubber Ducky Rug Cleaning has the right tools and years of experience to restore your carpet's beauty and health, tackling the jobs you can't.
Have Questions About Deep Carpet Cleaning? We've Got Answers
Even the best-laid plans can hit a snag. When you're elbows-deep in a carpet cleaning project, it's natural for questions to come up. Let's walk through some of the most common ones I hear from people all the time.
How Often Should I Really Be Deep Cleaning?
As a general guideline, aim for a deep clean every 12 to 18 months. But let's be realistic—that's just a starting point. Your home's unique situation is what really dictates the schedule.
If you've got pets, small children, or anyone with allergies, you'll want to shorten that timeline considerably. Think more along the lines of every 6 to 9 months, especially for those high-traffic zones like hallways and living rooms.
Your carpet acts like a giant air filter for your home, trapping dust, dander, and dirt. The more foot (and paw) traffic you have, the faster that filter fills up.
A busy home with two dogs and a toddler is going to need a deep clean far more often than a quiet, single-person apartment. The key is to clean it before it looks filthy to get rid of the embedded grit that grinds down fibers.
Is It Safe to Use a Carpet Cleaner on My Area Rug?
Tread very carefully here. While you can use a machine on some area rugs, it's a risky move for others. The material of your rug is everything.
- Synthetic Rugs (Nylon, Polyester): These are usually sturdy enough to handle a gentle cleaning. But you absolutely must do a spot test for colorfastness on a hidden corner first. No exceptions.
- Natural Fiber Rugs (Wool, Silk, Jute): Honestly, these are best left to the pros. The high heat and aggressive agitation from a standard rental machine can cause permanent damage, from shrinking and fiber distortion to disastrous color bleeding.
Help! Why Does My Carpet Look Worse After I Cleaned It?
This is a classic—and incredibly frustrating—problem. It's almost always due to a phenomenon called "wicking."
When a carpet is extremely soiled, the cleaning process can pull up dirt and old, deep-set stains from the very bottom of the carpet backing. As the carpet dries, those dissolved soils "wick" their way up to the tips of the fibers, making them visible all over again.
It doesn't mean you failed! It just means there was a lot more dirt hiding in there than a single pass could remove. Let the carpet dry completely, give it a good vacuum, and then go over the problem spots with another light cleaning pass.
If you're ever feeling unsure, getting a professional opinion can save you a lot of time, stress, and potential heartache. For those delicate rugs or issues that just won't quit, trust the team at Rubber Ducky Rug Cleaning to get the job done right. Get a fast, transparent quote online today!
